
Plastering is an essential part of home renovation or construction, offering a smooth, durable finish to your walls and ceilings. Whether you’re a DIY enthusiast or a professional looking to enhance your skills, these top plastering tips will help you achieve a flawless finish.
For more insights, you can also check out other plastering techniques and tips to perfect your craft. Follow this expert advice and take your plastering projects to the next level.
Preparing the Surface
Before applying plaster, it’s critical to prepare the surface properly. Any imperfections, dirt, or debris can affect the adhesion and quality of your plaster. Here’s how to get your walls ready for plastering.
Clean the Surface Thoroughly
Cleaning the surface of your wall is the first step. Remove any dust, dirt, grease, or old wallpaper. Use a vacuum or brush to get rid of loose particles. For stubborn stains, wash the surface with a mild detergent and water.
Repair Cracks and Holes
Inspect the wall for any cracks or holes. Small cracks can be repaired with filler, while larger cracks may require additional treatment. Fill the holes or cracks with a good-quality filler, then smooth the surface with a scraper. Allow it to dry before continuing with the plastering process.
Apply a Bonding Agent
For bare plaster, brick, or block surfaces, apply a bonding agent to improve the adhesion of the plaster. Bonding agents are especially useful if the surface is smooth or non-porous. Follow the manufacturer’s instructions for the right application method.
Choosing the Right Plaster
Selecting the right type of plaster is essential to achieve the desired finish. Different types of plaster are designed for various surfaces and purposes. Here are some popular options:
Standard Plaster
Standard plaster is the most common choice for plastering walls and ceilings. It is suitable for most surfaces and provides a smooth, solid finish. When applying standard plaster, it’s essential to mix it properly to avoid lumps.
Lime Plaster
Lime plaster is an excellent option for older properties or buildings with a lot of moisture. It is breathable and helps regulate humidity, making it ideal for bathrooms or kitchens. Lime plaster may take longer to set, but it offers a natural, textured finish.
Plaster of Paris
Plaster of Paris is a quick-setting material commonly used for decorative purposes. It’s ideal for moulding intricate details, but it is not as durable as standard plaster. Be sure to work quickly when using Plaster of Paris, as it sets fast.
Skim Coat Plaster
Skim coat plaster is a thin layer applied over existing plaster to create a smooth, flawless finish. It is commonly used to repair and restore walls, giving them a fresh look without the need for a full re-plaster.
Applying Plaster: Step-by-Step Guide
Now that the surface is prepared and the right plaster is chosen, it’s time to apply the plaster. Follow these expert tips to achieve a smooth and even finish.
Mix the Plaster Correctly
Mix the plaster according to the manufacturer’s instructions. The consistency should be smooth, not too runny or too thick. Too much water will make the plaster difficult to work with, while too little will result in a clumpy and hard-to-spread mixture. Use a mixing drill for a consistent texture.
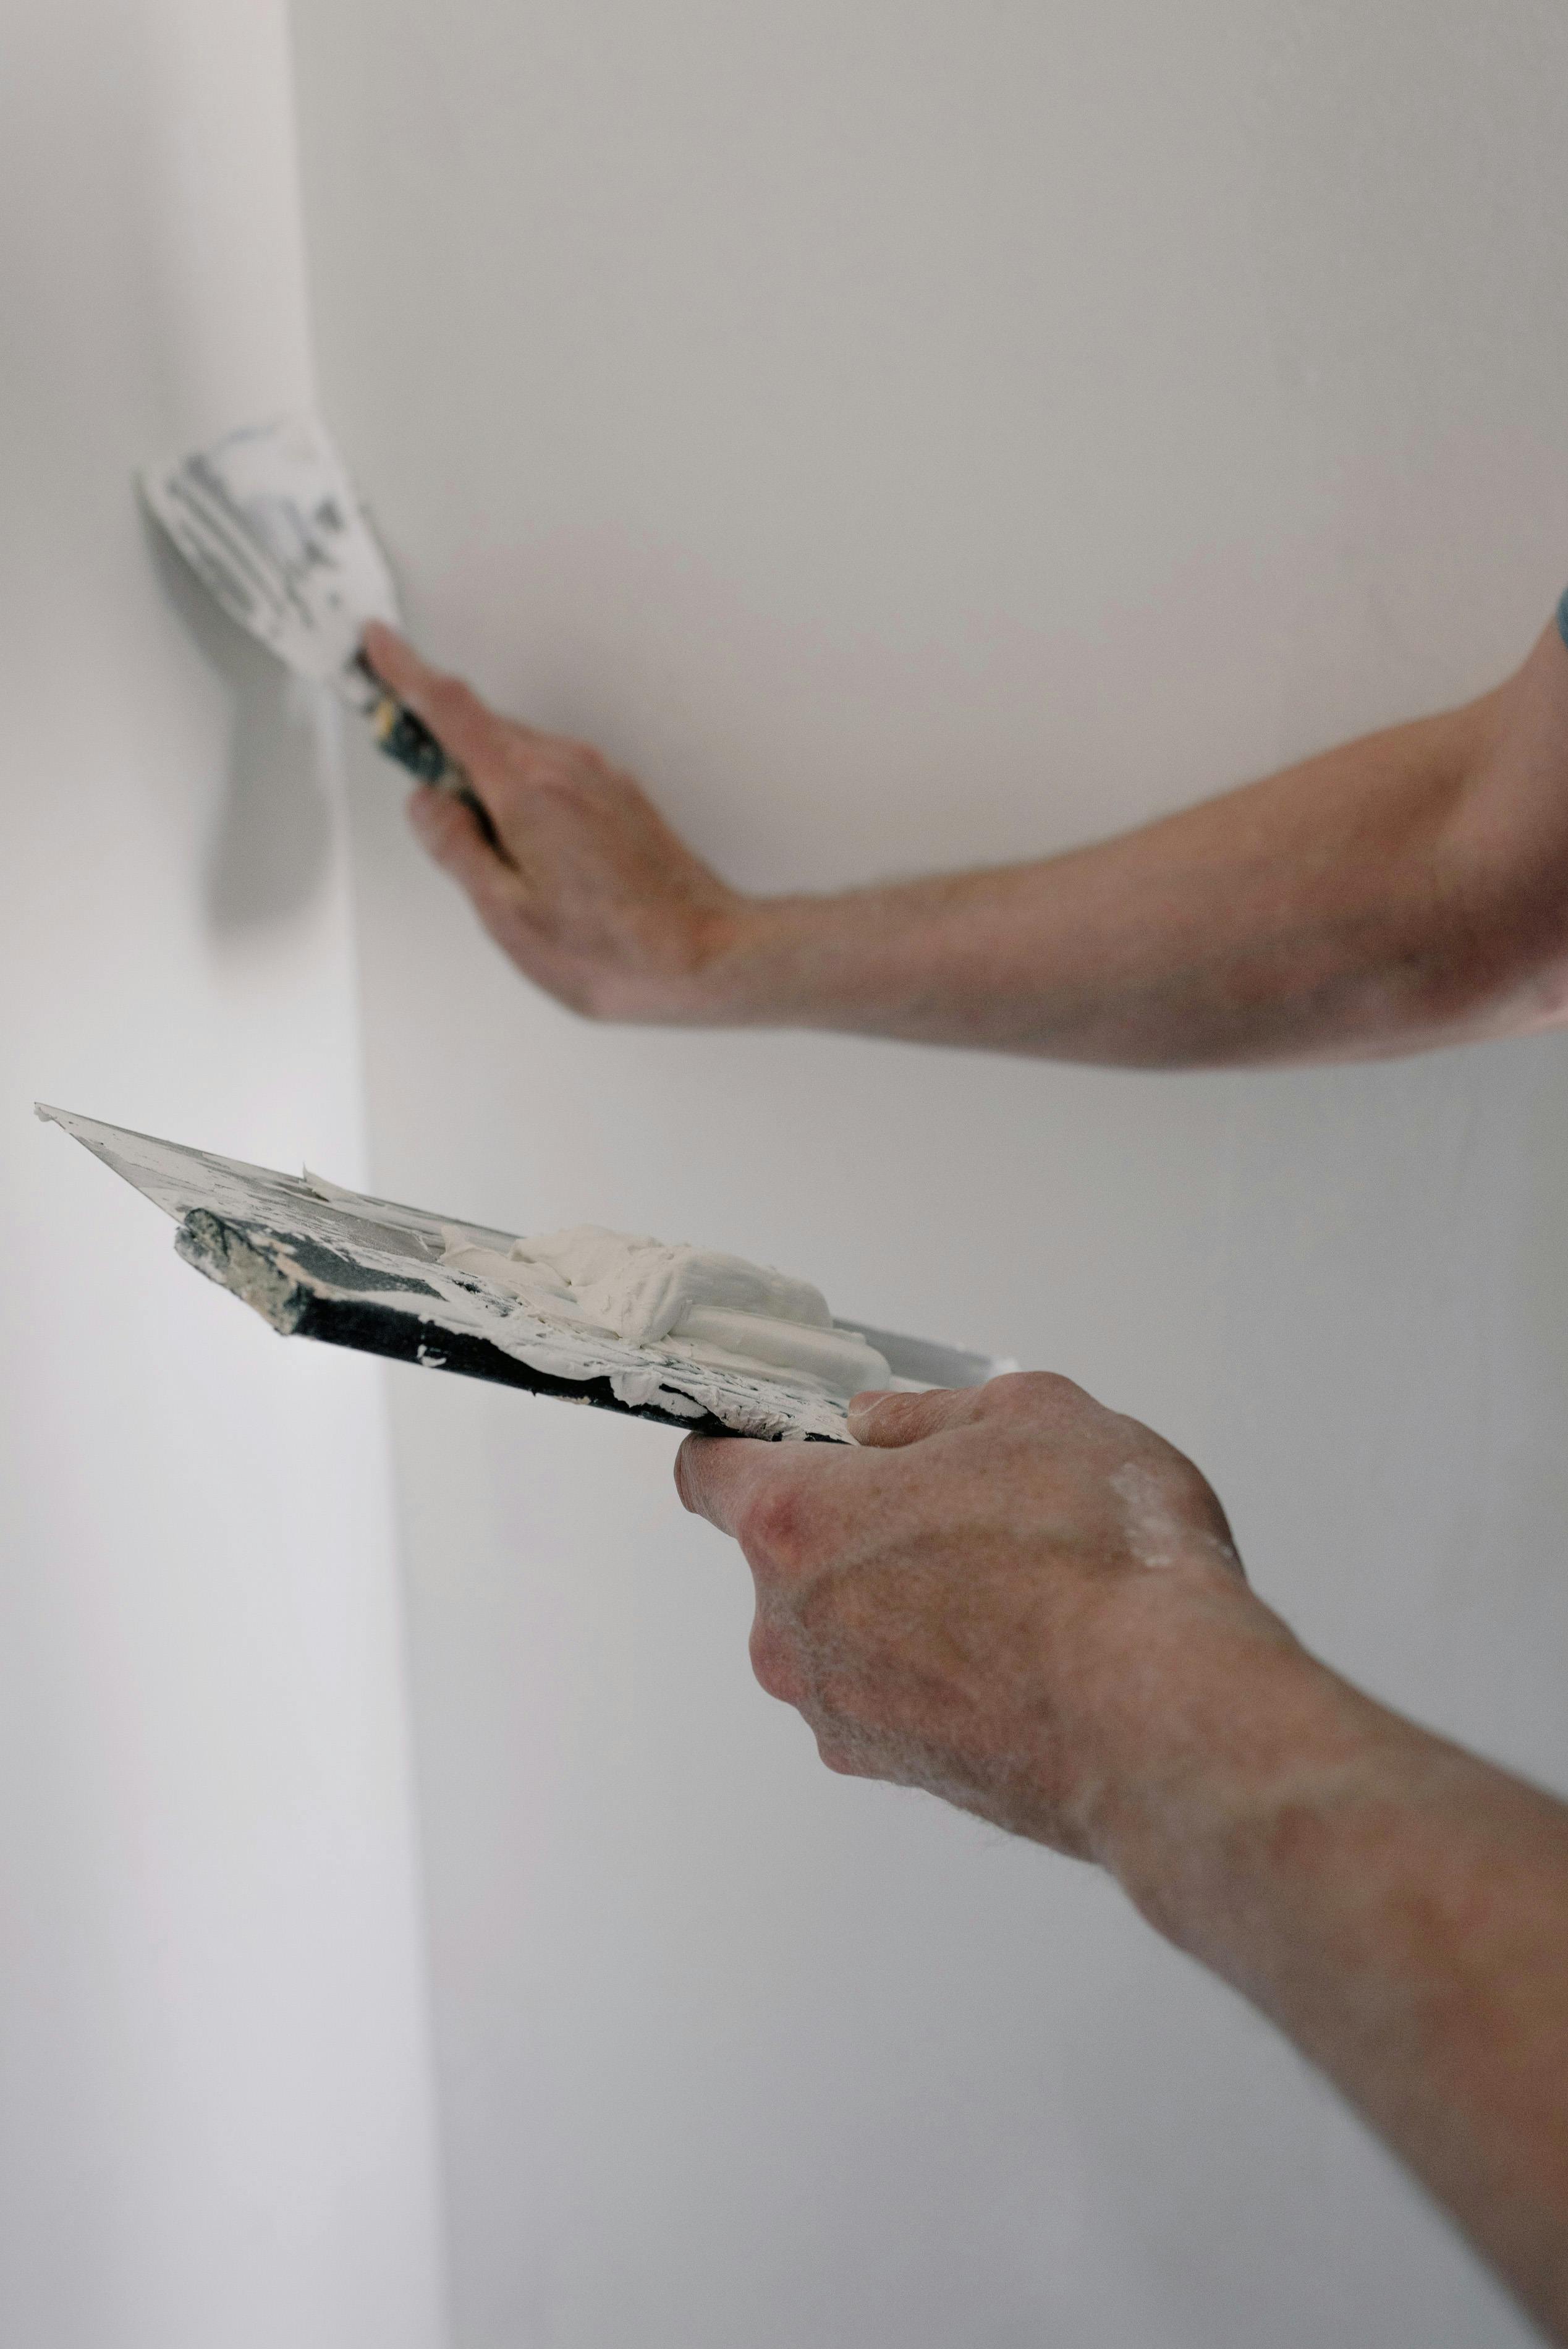
Apply the First Coat
Using a trowel, apply the first coat of plaster evenly across the surface. Start from the top of the wall and work your way down in smooth, overlapping strokes. Aim to apply a thin, consistent layer. Don’t worry if it’s not perfect – this is just the base coat.
Smooth the First Coat
Once the first coat is applied, allow it to set for 15-20 minutes or until it becomes firm but still slightly damp. Use a flat trowel to smooth the surface, working in long, gentle strokes. Don’t press too hard, as this can leave marks or gouges in the plaster.
Apply the Second Coat
After the first coat has dried, apply a second layer of plaster. This layer should be thinner than the first. Spread it evenly across the surface using the same technique as before, working in horizontal or vertical strokes to ensure even coverage.
Finish with a Final Smooth Coat
Once the second coat has set, lightly smooth the surface with a damp sponge to remove any imperfections. This process should leave a perfectly smooth, flawless finish.
Drying and Curing
Proper drying and curing are essential for a flawless plaster finish. Rushing this process can lead to cracks or imperfections. Here’s how to ensure your plaster cures correctly.
Allow the Plaster to Dry
Plaster can take several days to fully dry, depending on the thickness and the conditions of the room.
Ensure the room is well-ventilated, as proper airflow helps the plaster dry evenly. Avoid forcing the drying process with heat sources like heaters, as this can cause the plaster to dry too quickly, leading to cracks.
Keep the Plaster Moist During Curing
To help the plaster cure correctly, lightly mist the surface with water every few hours for the first 48 hours. This prevents the plaster from drying out too fast, which can cause it to crack.
Finishing Touches
After the plaster has dried and cured, it’s time for the finishing touches.
Sand the Surface
Once the plaster is dry, you can sand it to achieve an ultra-smooth finish. Use a fine-grit sandpaper to gently smooth any rough spots. Be careful not to sand too aggressively, as this can damage the plaster.
Apply Paint or Wallpaper
Now that your plaster is perfectly smooth, you can apply paint or wallpaper. If you’re painting, use a high-quality primer before applying the top coat to ensure proper adhesion.
Common Plastering Mistakes to Avoid
Even seasoned professionals can make mistakes while plastering. Here are a few common errors to watch out for and how to avoid them.
Overmixing the Plaster
Mixing plaster for too long can cause it to become too thick, which makes it harder to apply smoothly. Mix the plaster just until it reaches the correct consistency and avoid over-mixing.
Applying Too Thick a Coat
Applying a thick coat of plaster can lead to cracking and an uneven finish. Apply thin layers, and make sure each layer is smooth before adding the next.
Rushing the Drying Process
Plaster needs time to set and cure. Rushing this process can lead to uneven drying, cracking, or weakening of the plaster. Be patient and allow the plaster to dry naturally.
Conclusion
Achieving a flawless plaster finish requires patience, precision, and the right techniques. By following these top plastering tips for a flawless finish, you can transform any wall or ceiling into a smooth, professional-looking surface.
Proper surface preparation, correct plaster mixing, and careful application are all essential steps in achieving a top-quality result.
Frequently Asked Questions
How long does plaster take to dry?
Plaster can take between 24 to 48 hours to dry, depending on the thickness of the coat and the environmental conditions. Ensure proper ventilation in the room to speed up the drying process.
Can I plaster over painted walls?
It’s possible to plaster over painted walls, but you’ll need to prepare the surface first. Clean the paint, sand it down, and apply a bonding agent to help the plaster adhere.
What type of plaster is best for a bathroom?
Lime plaster is ideal for bathrooms due to its breathability and moisture-regulating properties. It helps prevent mould and mildew, making it a great option for damp areas.